I don’t know if you’ve tried repairing a shoe before, but it’s a pain in the butt. Not only can leather be a pain to sew through, if you don’t have the right tools, but the presence of a sole means you have to maneuver and shift the shoe around constantly, trying to get a good angle. Not my favorite task!
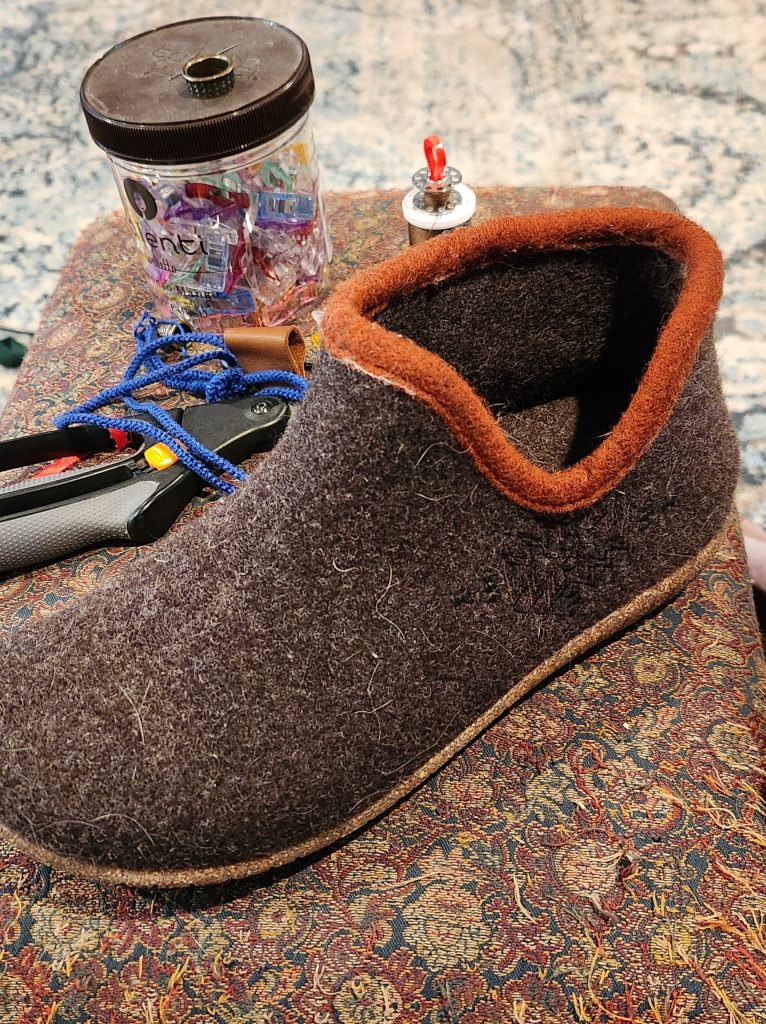
A few weeks ago I bought a pair of lightly felted wool booties that I plan to wear as slippers. They have an outdoor sole and built in arch support! And I got a good deal on them. Did I already know I am somewhat allergic to wool? Yes. Did I read the reviews that said the cuff scratched some people raw when worn without socks? I did. Did I buy them anyway? I did. I’m not going to get into a whole review of this bootie here, but they are definitely flawed. I wore them for about 4 days before I too had little raw spots on my ankles. It was time for an upgrade!
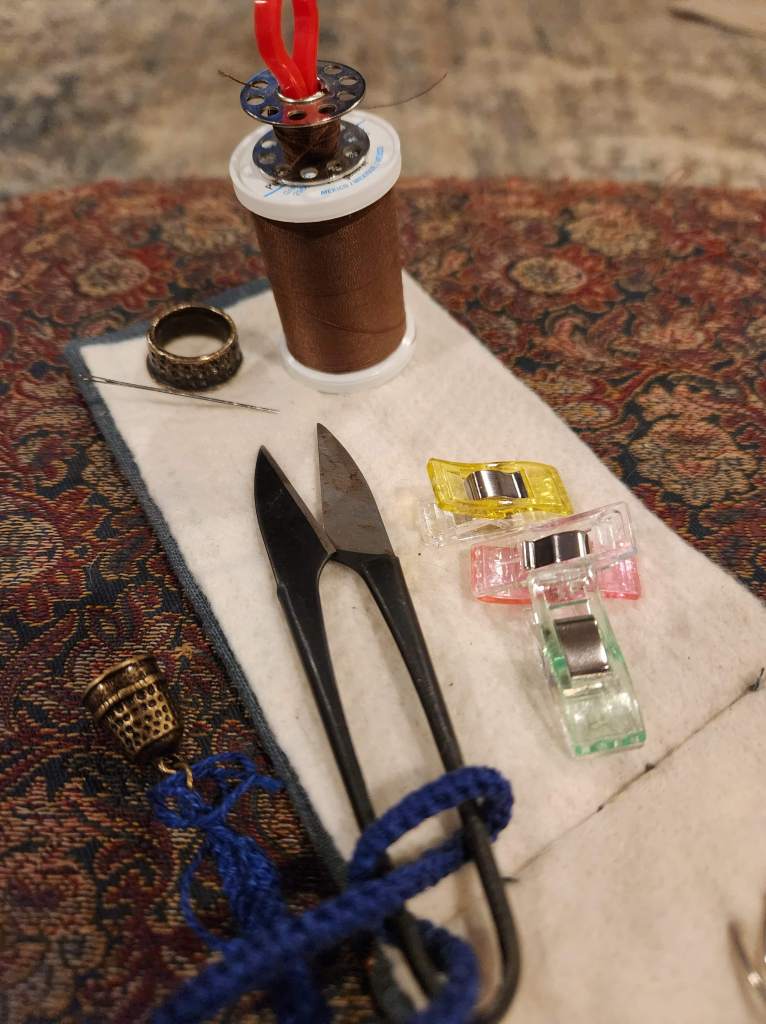
Supplies and Tools:
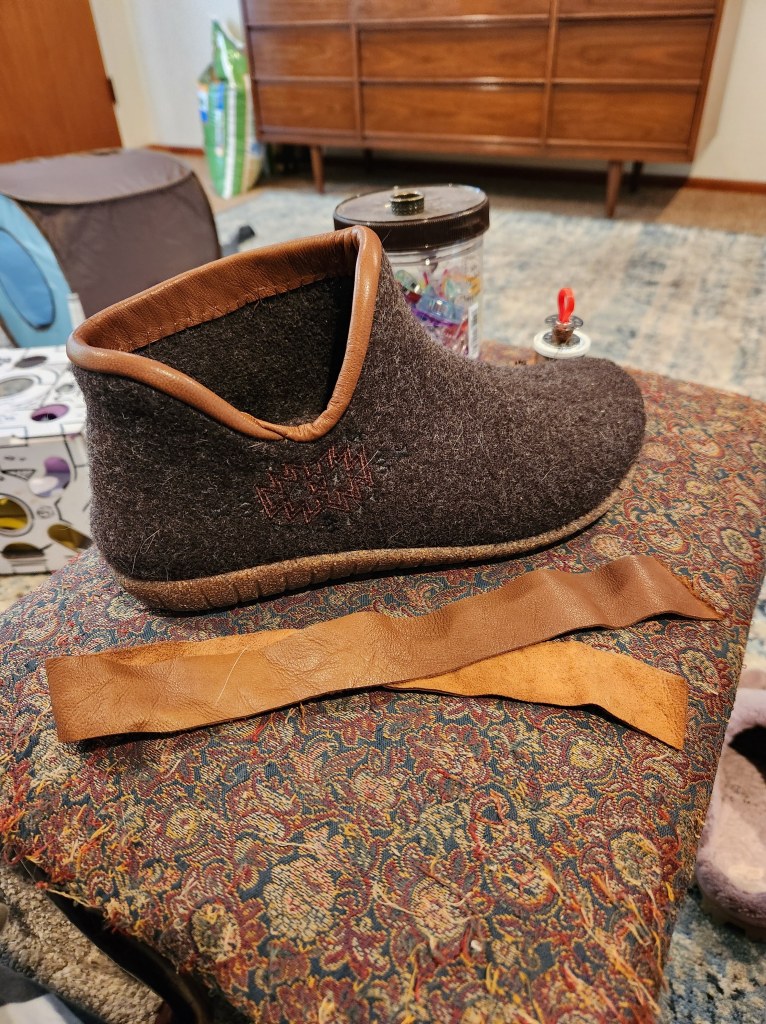
- 1 strip of leather, about 18″ x 2.5″ – from the stash
- Coordinating thread, nothing special. I used Coats & Clark poly – from the stash
- Seam Ripper, Needle, Fabric Clips, Thimble and Snips
So, a cost free upgrade!
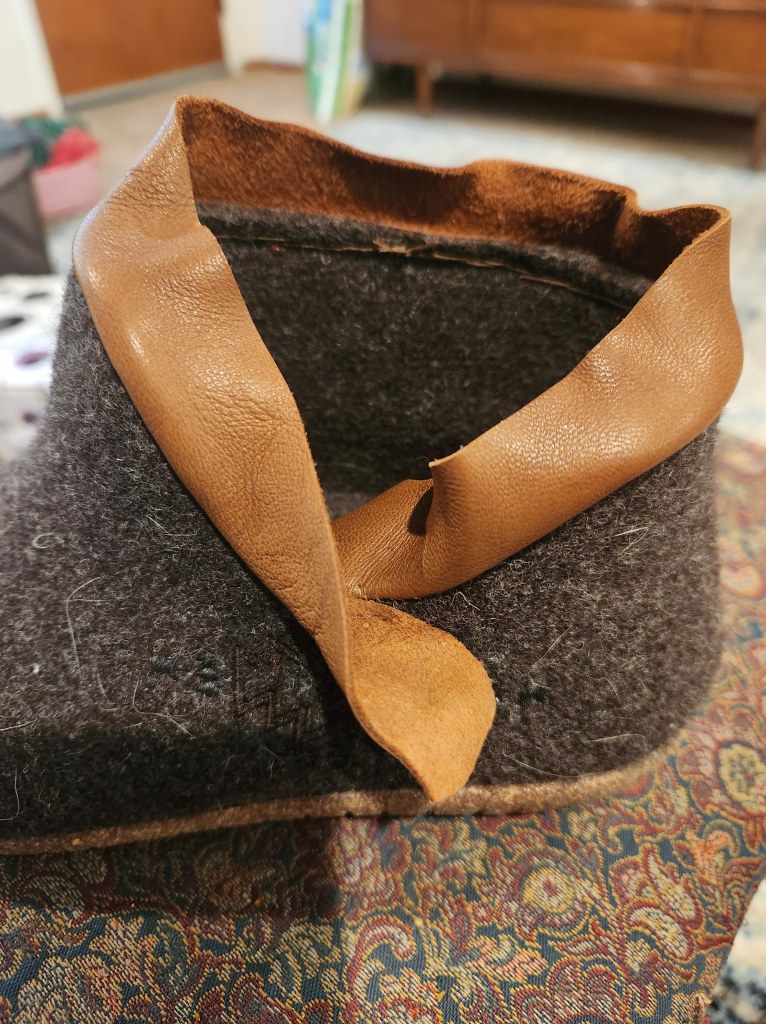
The booties are made of two different types of wool. The main part is a thick, somewhat felted, wool pad. It seems to be felted just enough for me, or possibly my feet are more resistant to wool itchies than my neck in a softer wool sweater. The problem is that the trim is made of a rougher wool. That was a poor design decision and probably the reason I got such a deal. No matter – I have the skills to improve them!
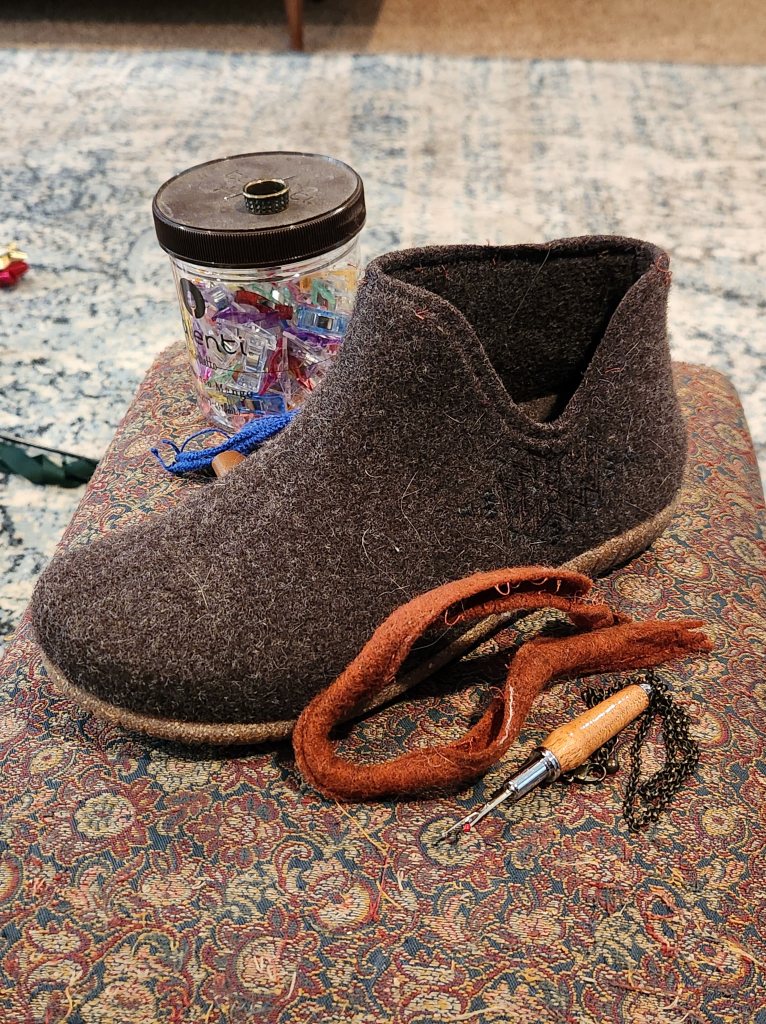
My solution was to remove the trim, which was similar to a bias binding, and replace it with a soft and flexible strip of leather that had been in my stash for probably 20 years. The strips ended up being about 1.25 inches wide, with plenty of length to overlap the ends.
I started by back stitching the right side of my leather strip to the outer top edge of the bootie. My intent was to have the leather only show a little in the outside, which allows max length inside to protect as much of my ankle as possible.
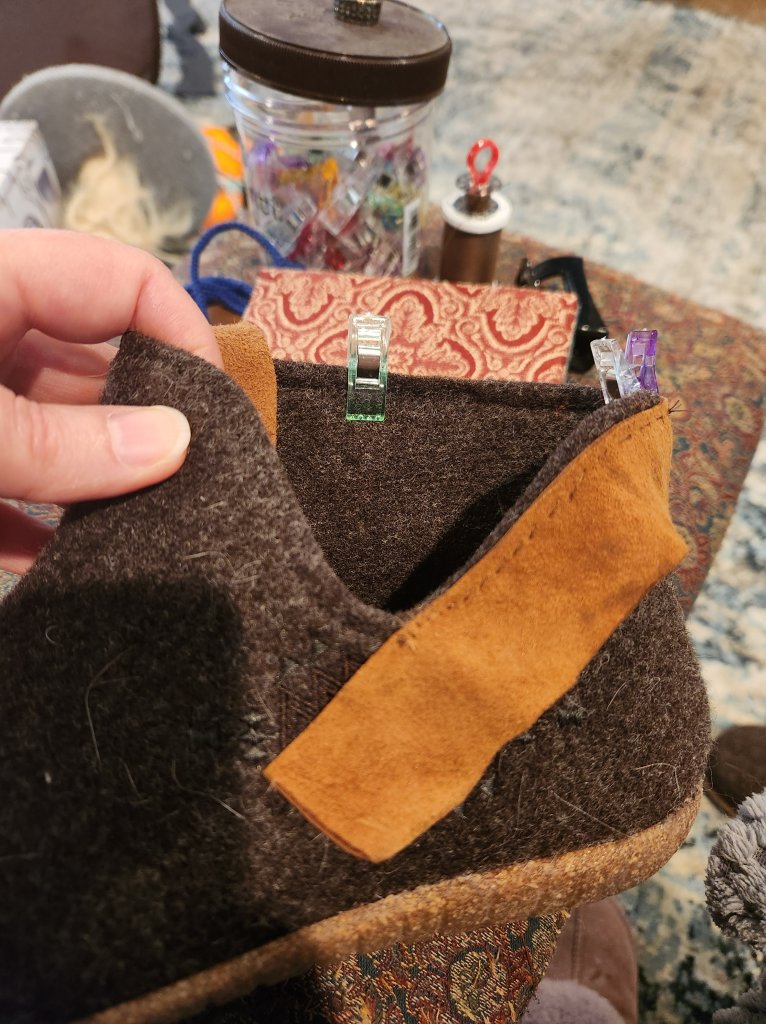
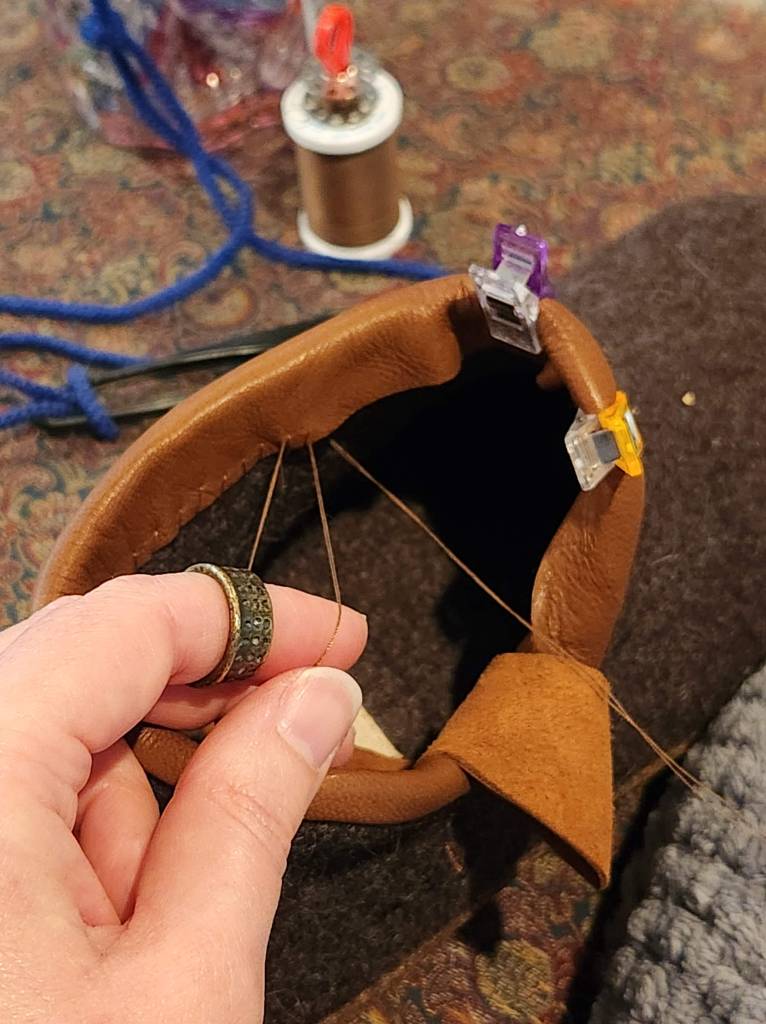
After stitching the top edge, which is the section that will show, I turned the leather to the inside and secured it with clips to make sure the leather would lay as flat as possible. After some stretching and fussing, I got it pretty flat. Of course, it’s not really possible to stitch on the inside of a small hole with all those clips in the way, so I had to remove them and re-pin short areas as I progressed. I used a straight needle to sort of hem stitch. I went through the edge of the leather, but only caught part of the wool thickness, at an angle. I overlapped the ends inside, down at the bottom of the curve and secured it, again, going for max coverage of the wool. I think it’s a good improvement!
One note on supplies: A lot of people would use a curved needle for the inside part. While that would facilitate getting the needle all the way down through the fabric – without getting it jammed into the foot-bed – I always find curved needles hard to hold. I do better with a larger curved needle, but those are also thicker and wouldn’t work in this project. I pretty much always opt for a straight needle and a good thimble.
Now, what’s next?